Image transformation ideas
How to learn from img2img examples reddit discussions
Browsing img2img examples reddit discussions can spark an idea, but a striking result rarely shows every choice behind it. Use these workflows to turn an example into a small, testable image-editing experiment rather than trying to copy an unexplained result.
Partner link only. Sign in if asked, open the paid photo editor at /edit, and upload your image and enter any instructions there. Img2img does not send an image or prompt; there is no free generation here.
the scenario's pain
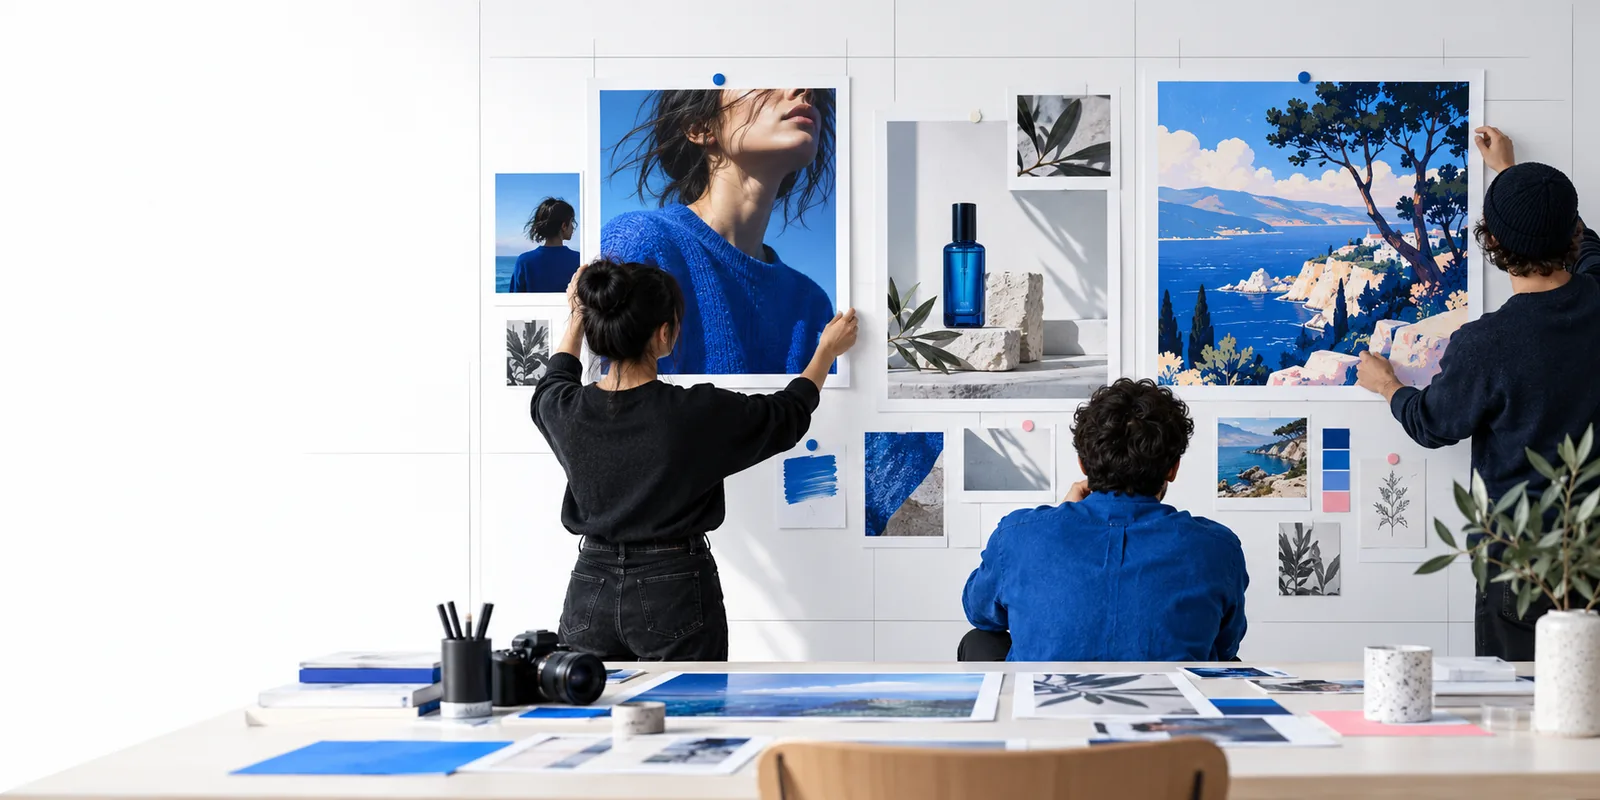
A shared before-and-after image shows what caught someone's eye, not necessarily how they got there. Missing prompts, source images, selections and later edits make exact recreation uncertain.
- what is img2img tutorial Start with the basic relationship between a source image, a text direction and the resulting variation.
- how to use img2img for beginners Follow a beginner-oriented process for changing one variable at a time.
- img2img vs inpaint Choose between a broad image variation and an edit focused on a particular area.
3 concrete workflows
Treat each workflow as a question you can test with your own source image. Keep a copy of the original so you can judge what changed.
-
1
Restyle a familiar composition
Begin with a photo you have permission to use, such as your own desk or streetscape. Write down the elements you want to preserve—camera angle, major objects and their placement—then describe one new visual treatment, such as a watercolor illustration. Compare the first result with the source for both style and structure. If the objects drift, make your next direction more specific instead of changing the subject and style together.
-
2
Explore a product backdrop
Use a product image you control and describe a different setting, such as soft window light against a pale studio background. Inspect the label, shape and edges before considering the result usable; attractive surroundings do not compensate for a changed product. For an exact commercial depiction, a controlled photo edit or a separately composited background may be more appropriate than a whole-image img2img variation.
-
3
Test a character color direction
Start with your own character sketch and request a coherent palette or lighting mood while retaining the silhouette. Save the source, your direction and each promising result so you can tell which change helped. If the face, clothing details or pose must remain exact, narrow the edit or use a localized technique rather than expecting a broad transformation to preserve every feature.
example output
A monochrome fashion portrait and a colorful editorial image illustrate the kind of visual difference a restyling brief might seek. They are separate illustrations, not a verified input-and-output pair.
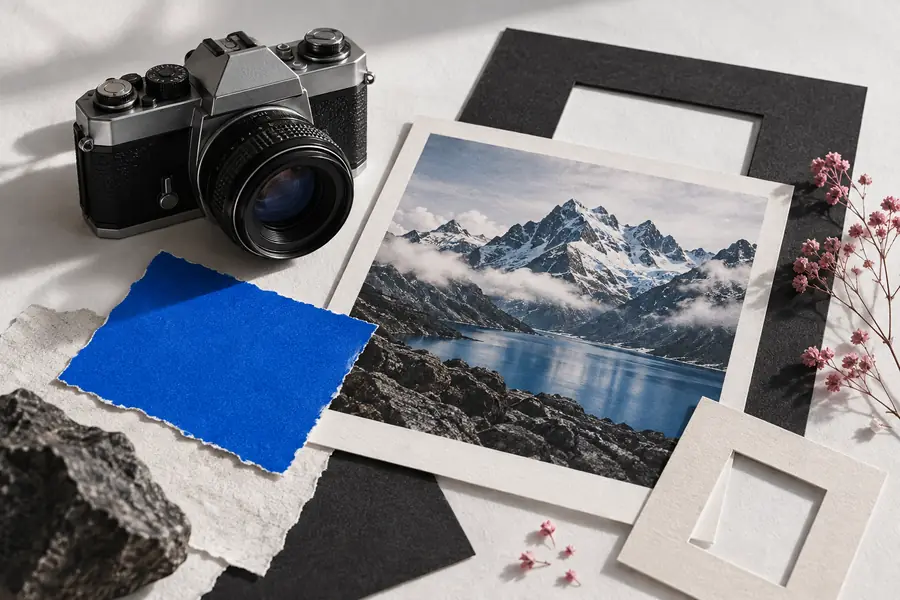
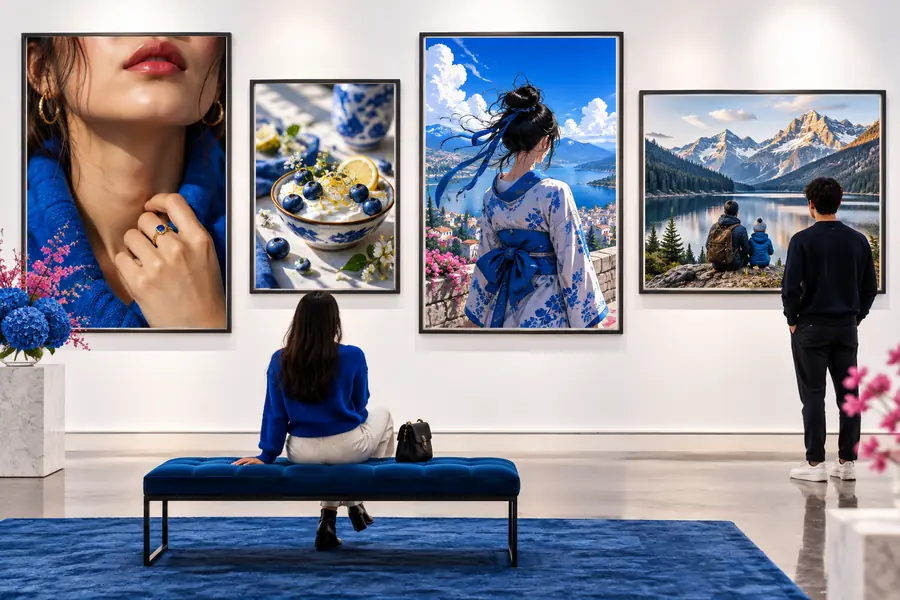
When assessing actual img2img examples, look beyond the dramatic color change. Check whether the subject's pose, garment details and framing stayed consistent with the stated goal. A compelling image can still be a poor match for a brief that requires fidelity. Keep the original beside each candidate and describe the difference in concrete terms; that makes the next revision more useful than a vague request to make it better.
Reference lookPossible directioncompliance notes
Use images you own or are authorized to edit, and check the terms that apply to any reference you found on Reddit. Do not present someone else's posted result as your generation, or imply that an illustrative pair documents a real transformation. For portraits, get appropriate consent and avoid edits that misrepresent a real person. Img2img can help you explore a direction, but you should review the output before publishing or using it in a client project.
Make the next example your own
- Keep the original image for comparison
- Record the direction behind each variation
- Review rights, consent and visual accuracy
scenario FAQ
They can suggest useful scenarios, such as restyling a photo or exploring a new background. Treat a posted result as inspiration rather than a recipe unless its creator has also shared the source, directions and relevant settings. Compare the goal with the visible result before trying a similar edit on an image you can use.
The post may omit the original image, model, settings, selection or later manual edits. Even a detailed prompt does not by itself establish the complete process. Aim to recreate the underlying idea with your own material rather than promising an identical output.
Try a style change on a simple image you own, with a clear subject and uncluttered background. Ask for one visual change, then compare the result with the original for subject placement and recognizable details. A narrow goal makes it easier to understand what worked.
A public post is not automatically permission to reuse or transform its image. Check who owns it and whether you have the rights needed for your intended use. When in doubt, use your own photograph or sketch and refer to the post only for a general creative idea.
Look for a clearly identified source, an output and an explanation of the edit. A visual pair alone cannot establish which tools or additional steps were used. If that context is missing, describe it as an illustrative comparison rather than a documented transformation.