Image editing guide
A clear walkthrough: how to use img2img for beginners
If you are learning how to use img2img for beginners, start with one image and one specific change. This guide shows how to prepare a source, write a prompt that preserves what matters, inspect the result, and make a useful second attempt. Img2img can suggest a new version of an image, but you should expect to compare outputs rather than assume the first one will match every detail.
Partner editor · Link only
Partner link only. Sign in if asked, open the paid photo editor at /edit, and upload your image and enter any instructions there. Img2img does not send an image or prompt; there is no free generation here.
Open Supavisual photo editor
prerequisites
Before trying img2img, pick a source you have permission to use and decide what must remain recognizable. A clear image and a narrow goal make the result easier to judge.
- what is img2img tutorial Start here if you want a plain-language explanation of how a source image and a prompt work together.
- img2img vs inpaint Compare whole-image reinterpretation with targeted edits before choosing an approach.
- img2img examples reddit Browse transformation ideas to help define a realistic goal for your first attempt.
numbered steps
Treat img2img as a short loop: provide a source, describe the intended difference, then inspect the output against your original goal.
-
1
Choose and inspect the source
Select an image with a visible subject and enough detail in the area you care about. Check its edges, lighting, and background before editing: a small face, heavy blur, or an obstructed object can make preservation harder. Keep the original nearby for comparison. If your goal is to change only a small region, consider whether a targeted editing method would suit the task better than a whole-image img2img pass.
-
2
Describe the change and the constants
Write a prompt with both instructions: what changes and what stays. For example, ask for a garden background while retaining the subject's pose, framing, and approximate lighting direction. Use visible descriptions instead of vague praise such as beautiful or better. Avoid stacking conflicting styles. If the interface offers a control for how closely the result follows the source, begin conservatively and adjust it only after seeing what changes.
-
3
Compare, revise, and save
Look at the source and result side by side. Check the subject first, then inspect hands, text, fine edges, and any feature you explicitly asked to preserve. For the next img2img attempt, change one part of the prompt or one available setting rather than everything together. Keep a note of which version improved your goal, and retain the original so you can restart if later revisions drift away from it.
common errors and fixes
Beginners often judge an img2img result by its overall look and miss a changed face, lost detail, or unwanted shift in composition. Compare the specific features named in your prompt.
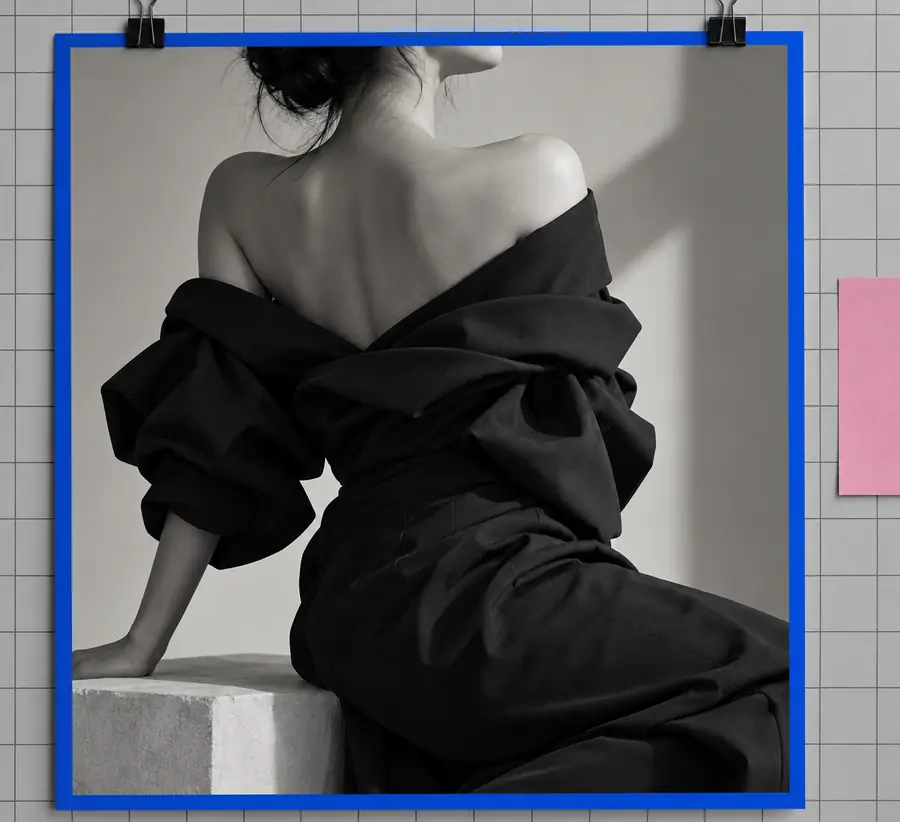
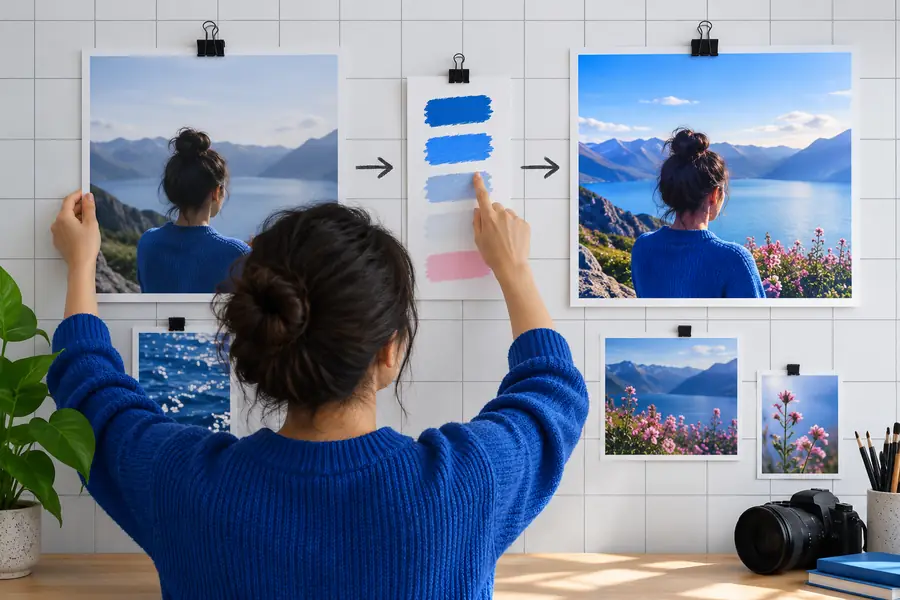
These are illustrative style references, not a verified before-and-after edit of the same photo. If your subject changes too much, restate the features to preserve and try a less dramatic edit. If the new look barely appears, make the requested change more concrete. If details become distorted, simplify the prompt and inspect whether the source clearly shows those details. Compare like with like: a striking color palette does not compensate for losing the pose you intended to keep.
Reference lookDifferent style directionadvanced tips
Once you can evaluate an img2img result, choose a revision strategy based on the problem you see. The two approaches below are prompt strategies, not promises about controls available in every tool.
| Preserve the source | Explore a new direction | |
|---|---|---|
| Best starting goal | Keep the subject and composition while changing one identifiable feature. | Try a noticeably different setting, palette, or visual style. |
| Prompt emphasis | Name the pose, framing, subject identity, and lighting cues you need to retain. | Describe the new environment and its visual qualities in concrete terms. |
| First revision | If the subject drifts, shorten the change request and strengthen the preservation instructions. | If the edit is too subtle, specify which visible areas should change. |
| Source choice | Use a clear image where the important features are easy to inspect. | Use an image whose subject remains readable even when the surrounding style changes. |
| What to compare | Check facial features, object shape, camera angle, and small details against the original. | Check whether the new direction is apparent without obscuring the main subject. |
| When to stop | Stop when the requested edit is visible and the features you protected remain acceptable. | Stop when further changes add novelty but no longer serve the intended image. |
| Useful habit | Keep each prompt revision small so you can identify what helped. | Save promising variations before testing a more radical direction. |
Bring a source image and a short description of what to keep and what to change. Start with a modest edit, inspect the outcome, and refine from evidence in the image rather than adding more adjectives. That repeatable habit is more useful to beginners than searching for a perfect prompt on the first try.
Put your first image edit into practice
- Keep your original image for comparison.
- Make one intentional change at a time.
- Inspect important details before revising.
tutorial FAQ
Choose a clear source image and request one visible change, such as a different background. State what should remain the same, then compare the result with the original. This gives beginners a simple test of whether the prompt worked.
Use enough detail to identify the change and the features you want to preserve. A sentence about the new setting plus a sentence about the subject or framing is a practical starting point. Add detail only when a result shows you what is missing.
A whole-image transformation may reinterpret features beyond the area you had in mind. State your preservation requirements clearly and try a narrower change. If the task affects only a small area, a targeted editing approach may be a better fit.
For beginners, revise the prompt first when the request is vague or conflicting. If the interface provides a source-adherence control and the prompt is already clear, adjust that control in small increments. Change one variable at a time so you can tell what influenced the next result.
Check whether the requested change is visible and whether the features you meant to retain still work for your purpose. Inspect fine details rather than judging only the thumbnail. If another revision is unlikely to improve the original goal, save the preferred version and stop.