Portrait retoucher
A sleeve overlaps a hand, making a simple garment mask hard to draw.
Review the overlap at close range and keep the hand outside the editable region where possible.
Outfit editing
A Stable Diffusion outfit-editing workflow starts with a portrait and a description of the new outfit; masking is a separate technique that depends on the tool. This guide is editorial—our partner link opens Supavisual’s paid photo editor, not Stable Diffusion or a guaranteed garment-masking tool.
Partner editor · Link only
Partner link only. Sign in if asked, open the paid photo editor at /edit, and upload your image and enter any instructions there. Img2img does not send an image or prompt; there is no free generation here.
Open Supavisual photo editor
General image-to-image editing can restyle an entire picture. An outfit edit has a narrower goal: change the garment while retaining enough of the portrait to recognize the original.
These are priorities for this task, not guarantees of any particular model or editor.
Name what should change, such as the coat rather than the entire look. Specify the replacement garment, its color, material, and fit.
Describe what should remain: face, hairstyle, pose, hands, and setting. If the editor supports masking, select the clothing while avoiding skin and accessories.
Inspect the collar, sleeves, fingers, and fabric edges. Revise the prompt or mask when the garment spills onto nearby areas.
Start with the source portrait and decide how much of it may change. The table compares two common Stable Diffusion workflows; available controls vary by editor.
| Whole-image img2img | Masked clothing edit | |
|---|---|---|
| Area processed | The full source image | A selected clothing region |
| Starting input | Portrait and outfit prompt | Portrait, outfit prompt, and mask |
| Useful when | A broader fashion restyle is acceptable | The rest of the portrait should stay closer to its source |
| Main trade-off | Face, pose, or background may also shift | Mask edges may need careful cleanup |
| Prompt emphasis | Describe both the desired look and details to retain | Describe the replacement garment and its boundary |
| First review | Compare overall likeness with the source | Inspect seams, exposed skin, and overlapping hair |
A clothing prompt cannot by itself guarantee identity preservation or clean fabric edges. Match the method to what the source image makes difficult.
A sleeve overlaps a hand, making a simple garment mask hard to draw.
Review the overlap at close range and keep the hand outside the editable region where possible.
The goal is a new outfit and a noticeably different editorial mood.
A broader image-to-image pass may suit the concept, but compare the face and pose with the source.
A long prompt asks for a new coat, lighting, backdrop, and camera angle at once.
Begin with one garment change so it is easier to see which instruction caused an unwanted result.
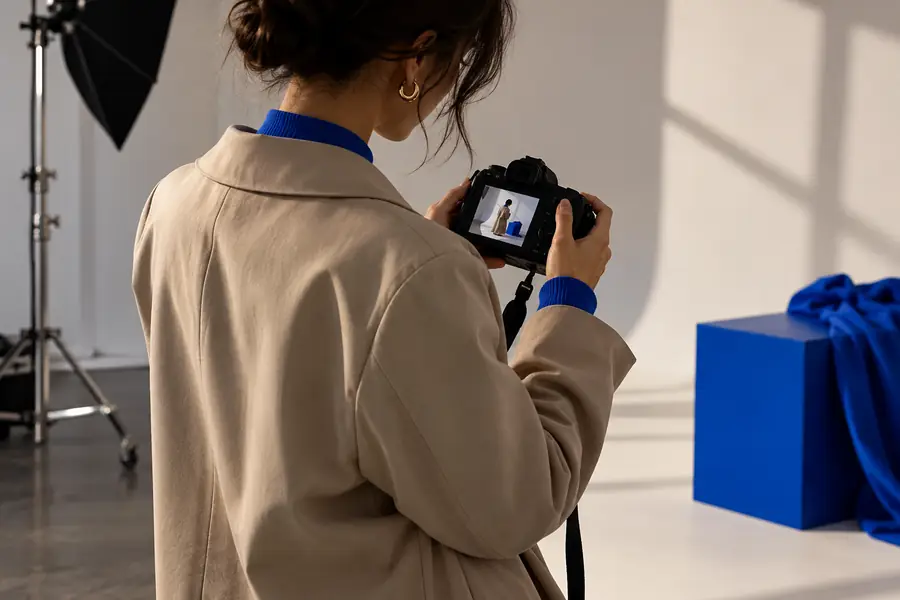
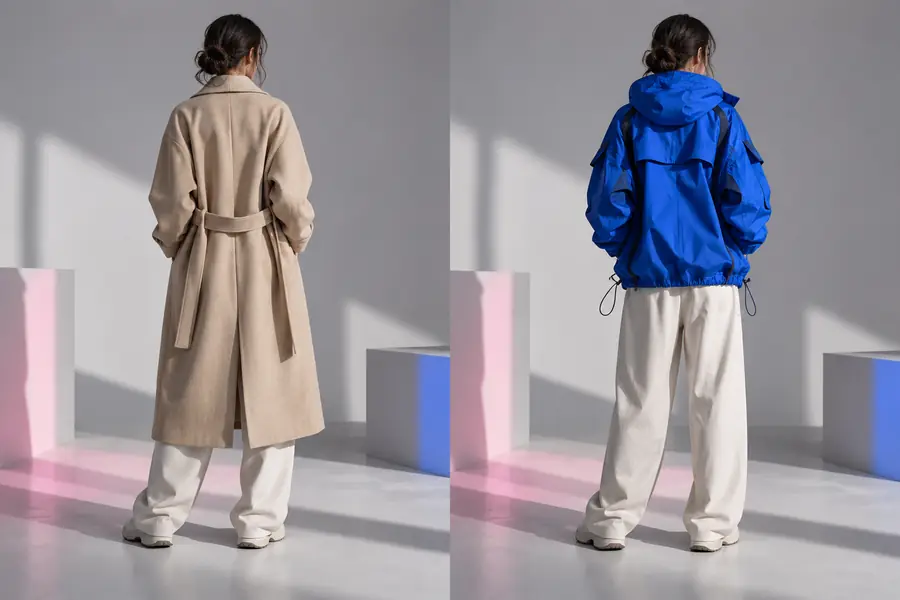
Illustrative images, not a verified before-and-after edit of the same portrait. In your own result, compare the face, pose, hands, and garment edges directly with the source.
Source portraitOutfit conceptChoose a portrait with visible clothing, name the replacement garment, and state what should stay unchanged. Check the editing options available after opening the tool; masking and model-specific controls depend on the destination.
It can produce a different outfit while retaining some facial features, but preservation is not guaranteed. A clothing mask, when supported, limits where edits are requested; you should still compare the result with the source.
Use a whole-image approach if broader changes to the portrait are acceptable. Inpainting is generally the more targeted choice when only the clothing should change, although poorly placed mask edges can still affect nearby details.
Name the original area to replace and describe the new garment's type, color, material, and fit. Add a short instruction to retain important features such as the face, pose, and background, then judge the actual output rather than relying on the wording alone.
Clothing touches complex boundaries around hair, hands, skin, and other fabric. Tight masks can leave remnants of the old outfit, while broad masks may alter nearby areas; adjusting the selection and simplifying the prompt can help.