img2img

Image editing choices

img2img vs inpaint: choose the right kind of edit

These are two general techniques for editing an existing image: img2img can change the whole composition, while inpainting focuses on a selected area. This comparison does not promise both modes in the linked Supavisual photo editor; check its actual controls after signing in.

Open Supavisual photo editor

Partner link only. Sign in if asked, open the paid photo editor at /edit, and upload your image and enter any instructions there. Img2img does not send an image or prompt; there is no free generation here.

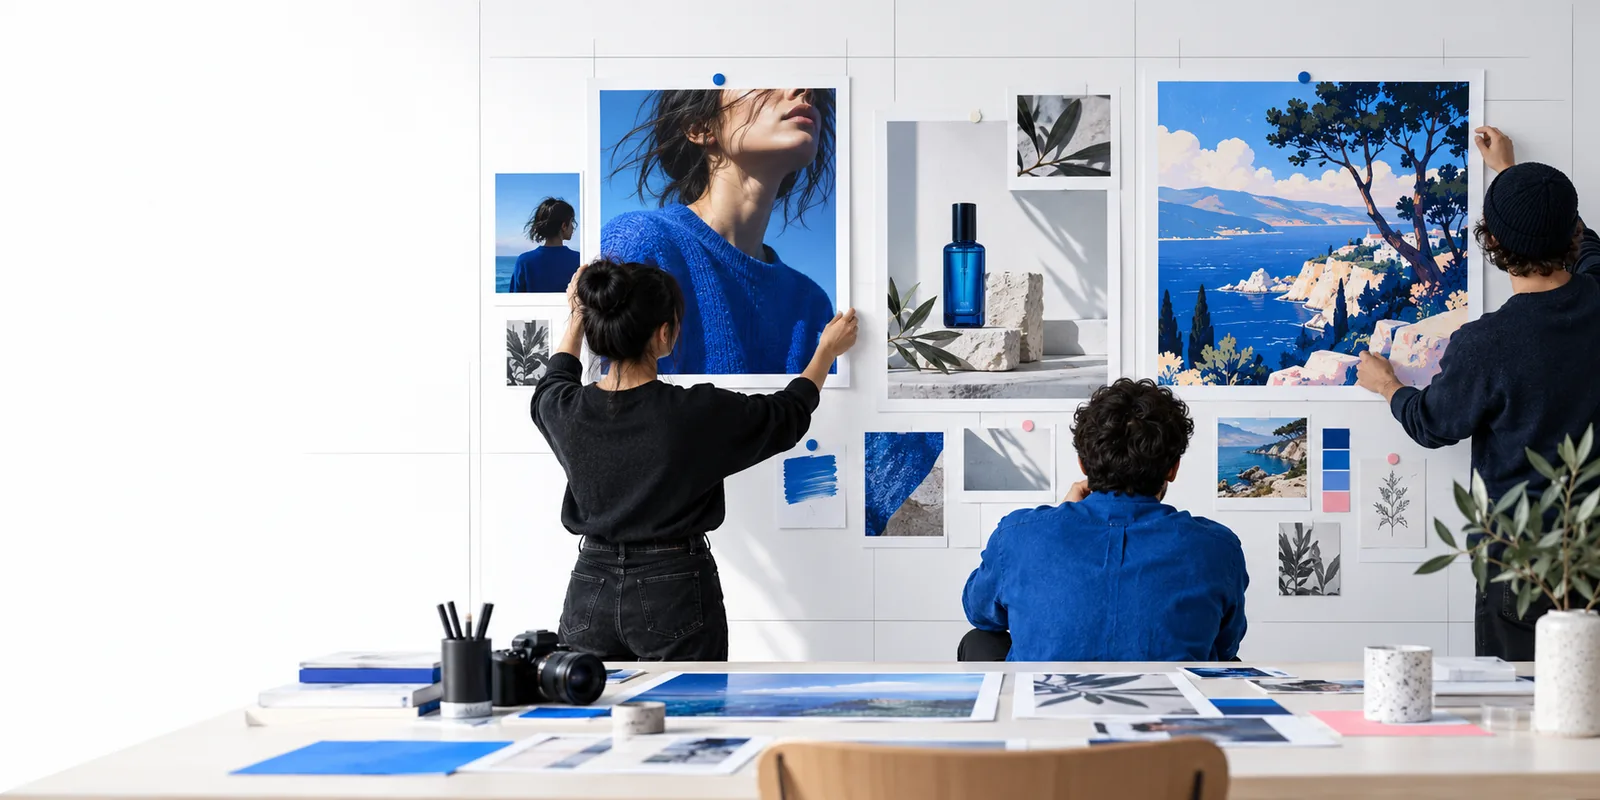
Creative image variations shown in the Img2img site artwork

Verdict first: choose by edit scope

The deciding question is not which method is more powerful. It is how much of the source image you are willing to change.

Illustrator exploring a new look

You like the composition of a sketch but want to test a painterly or photographic treatment across the entire frame.

Start with img2img. Review the full result for changed shapes and details, then keep the variation that best serves the original idea.

img2img examples reddit

Portrait editor fixing one detail

The face and lighting work, but a distracting object or a small clothing detail needs attention.

Choose inpaint if your editor offers a mask. Select the affected area and inspect its edges so the replacement belongs in the photograph.

stable diffusion img2img change clothes

Beginner testing a reference image

You are unsure whether your request describes a scene-wide restyle or a local repair.

Name what must remain unchanged before editing. If that list covers most of the frame, a masked edit is the safer starting point.

how to use img2img for beginners

Designer revising a product scene

You want to change the overall mood of a product image without losing sight of its layout.

Use a whole-image variation for broad mood studies. If only the background prop needs replacing, switch to a local edit rather than regenerating the product.

stable diffusion img2img

Dimension by dimension: how the methods differ

Compare the two methods by what they ask you to select, what they tend to preserve, and what you need to inspect afterward.

  1. 1

    Define the editable area

    For img2img, treat the source as guidance for a new version of the whole image. For inpaint, mark the region to replace and leave the surrounding area outside the mask. A precise selection matters most when the edit touches an important edge.

  2. 2

    Write for the intended scope

    A whole-image instruction can describe a new visual style, atmosphere, or broad scene treatment. A masked instruction should describe what belongs inside the selected area and how it relates to nearby lighting, scale, and perspective.

  3. 3

    Check different failure points

    With img2img, compare the entire output against the source: composition, identity, text, and small objects may drift. With inpaint, look closely at the boundary, shadows, and texture where the new area meets the old image.

Migration path: switch when the edit changes

A first pass can reveal that you chose the wrong scope. Change methods rather than repeatedly asking one method to solve the other method’s problem.

1

A whole-image pass cannot guarantee a protected detail

Even when your instruction says to keep a face, logo, or product shape identical, a full-frame transformation may alter it. Similarity is not the same as a locked region.

What to do instead

If one element must remain exact, preserve it outside the edited area and use a masked workflow where available.

2

A small mask cannot reliably redesign a whole scene

Changing only one patch may leave the new style disconnected from the surrounding colors, lighting, or perspective. Enlarging a mask repeatedly can become harder to manage than a fresh full-image pass.

What to do instead

Make a broad variation first, then use local edits to refine individual areas.

3

Neither method guarantees seamless edges or readable text

A local replacement can show a visible seam, while a full-frame variation can distort lettering or other fine details. Both need human inspection, especially on images intended for publication.

What to do instead

Compare the result at full size, revise the selected area or source, and handle critical lettering separately.

4

This comparison is not an editor control panel

Reading this page does not upload an image, create a mask, run a model, or verify which editing controls a separate product provides.

What to do instead

Open the editing destination and check its available controls before planning a workflow that depends on masking.

Side-by-side comparison table

Use this reference when a project has both creative and preservation requirements. Neither column is universally better.

Img2img Inpaint
Primary purpose Create a new version guided by the source image. Replace or revise a selected region of an image.
Typical edit area The whole frame can be affected, even when the request names one detail. The mask identifies the area intended for change.
Best fit Broad restyling, mood exploration, or alternate interpretations of a composition. Object removal, localized replacement, or repairing a specific visual problem.
Preservation priority The source guides the result, but unchanged details require careful checking. Unmasked areas are intended to remain more consistent, though boundaries still need review.
Setup decision Choose a useful source and describe the overall result you want. Choose a useful source, define a mask, and describe what belongs inside it.
Common failure Important details drift while the overall result looks appealing. The inserted area has a seam, mismatched lighting, or the wrong scale.
When to switch Switch to inpaint when a good variation needs only one targeted correction. Switch to img2img when the desired change extends across most of the image.

Put the right approach to work

If your goal is a new interpretation of an existing image, begin with a broad image-to-image request. If your goal depends on protecting most of the original, check whether the editing destination offers a masked workflow before you proceed. Keep the source so you can judge what changed.

Start with the edit you can describe clearly

  • Describe the desired result
  • Identify details that must remain
  • Inspect the output before using it
Explore image editing

Comparison FAQ

Img2img makes a new version of an image using the source as guidance, so changes can appear throughout the frame. Inpaint targets a selected area, usually defined by a mask, while aiming to keep the surrounding image more consistent. The practical choice depends on whether you want a broad transformation or a local correction.

Use a masked edit when you want to change a garment while keeping the face, pose, and background as consistent as possible. A full-image pass makes more sense when the clothing change is part of a wider restyle. In either case, check garment edges, hands, and overlapping hair carefully.

You could select a very large area, but that removes much of the advantage of making a local edit. If the new direction affects nearly the whole frame, a full-image transformation is usually a clearer starting point. You can then refine smaller areas separately.

The mask expresses which area you intend to edit, but exact behavior depends on the editor and its settings. Do not assume pixel-perfect preservation without comparing the result to the source. Pay particular attention to the boundary around the selection.

Yes. A useful sequence is to create a broad variation, choose the strongest result, and then make targeted corrections with a masked edit if that option is available. The reverse can also work when a local fix reveals that the whole scene needs a different treatment.

Open partner editor
Open partner editor